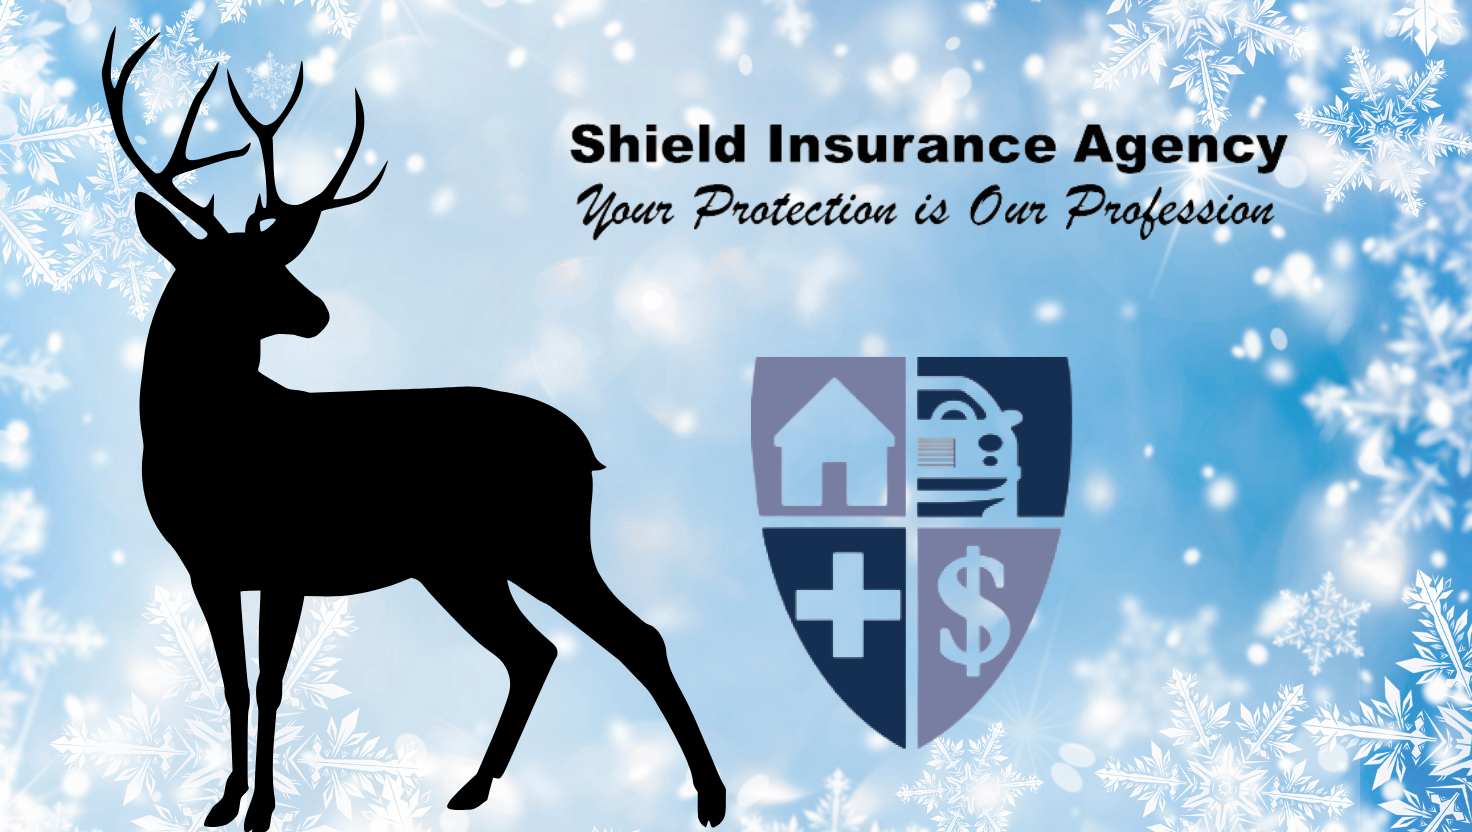
Don’t Hit the Deer in the Headlights

Deer in the Headlights

Just picture it — you’re driving on a winding road blasting some music, enjoying your time with family and friends, when something pops out in front of you. Do you brake? Do you try to swerve around the thing? Animals seem to have other things on their mind near the roads, and can often jump out at us while we drive, which can cause major safety issues. These moments need a quick response but it can be challenging to think through what to do and then do it on the fly. That’s why we’re providing some guidelines to help prevent a collision between your car and an animal during this season!

  • Fasten your seatbelt. While this will not help you avoid hitting an animal, it is the best way to help ensure safety for you and the passengers in your car. Buckle up during every auto trip!
  • Pay attention to animal-crossing signs. These yellow, diamond-shaped signs on the side of the road with an animal picture on them (deer, moose, bear) warn you about areas where the pictured animal is known to cross the road.
  • Use your high beams whenever possible (as long as there is not oncoming traffic) during this time of the year. The extra light does a great job of revealing your surroundings, and is especially good at lighting up animal eyes along the side of the road, where deer and other wildlife are most likely to congregate.
  • Honk your horn in short bursts (for deer)If you are in an environment with a high likelihood for deer crossings, honk your horn in short spurts throughout the drive to scare away any deer that may have been near the road. However, honking your horn too much may confuse the deer and lead them closer to the road, so make sure you are rationing out those honks throughout the trip.
  • Be especially alert at dawn and dusk. Animals are most likely to be roaming at dawn and dusk, so stay especially alert during these times to avoid collision.

If a Deer in the Headlights appears on the road…

  • Never swerve! Don’t do it. The instinctual action of swerving can actually cause more harm than good because you may swerve into the other lane with oncoming traffic, a tree, a fence, or road sign, which can increase your chance of injury.
  • Drive towards where the animal came from. Roaming wildlife are most likely to either stand where they are discovered in fear or will run onward in the continual direction from whence they came. If you feel you can safely maneuver your car, your best option to miss the animal is to drive towards the direction where the animal came from (this will not work for deer).
  • Brake firmly. Unless there is a car directly behind you, brake firmly and safely slow your vehicle. If there is a car close by, slow down, but make sure to honk your horn to signal to the other driver that there is a problem ahead. By the way, Mythbusters busted the myth that speeding up will decrease your chances of injury — so don’t do that!
  • Lean towards a door pillar. In the event of an unavoidable crash, leaning towards a door pillar will give an extra layer of protection between you and the approaching impact. In most instances of a severe collision between man and animal, the center of the car is crushed, so lean towards the door pillar to benefit from the added protection of the pillar.

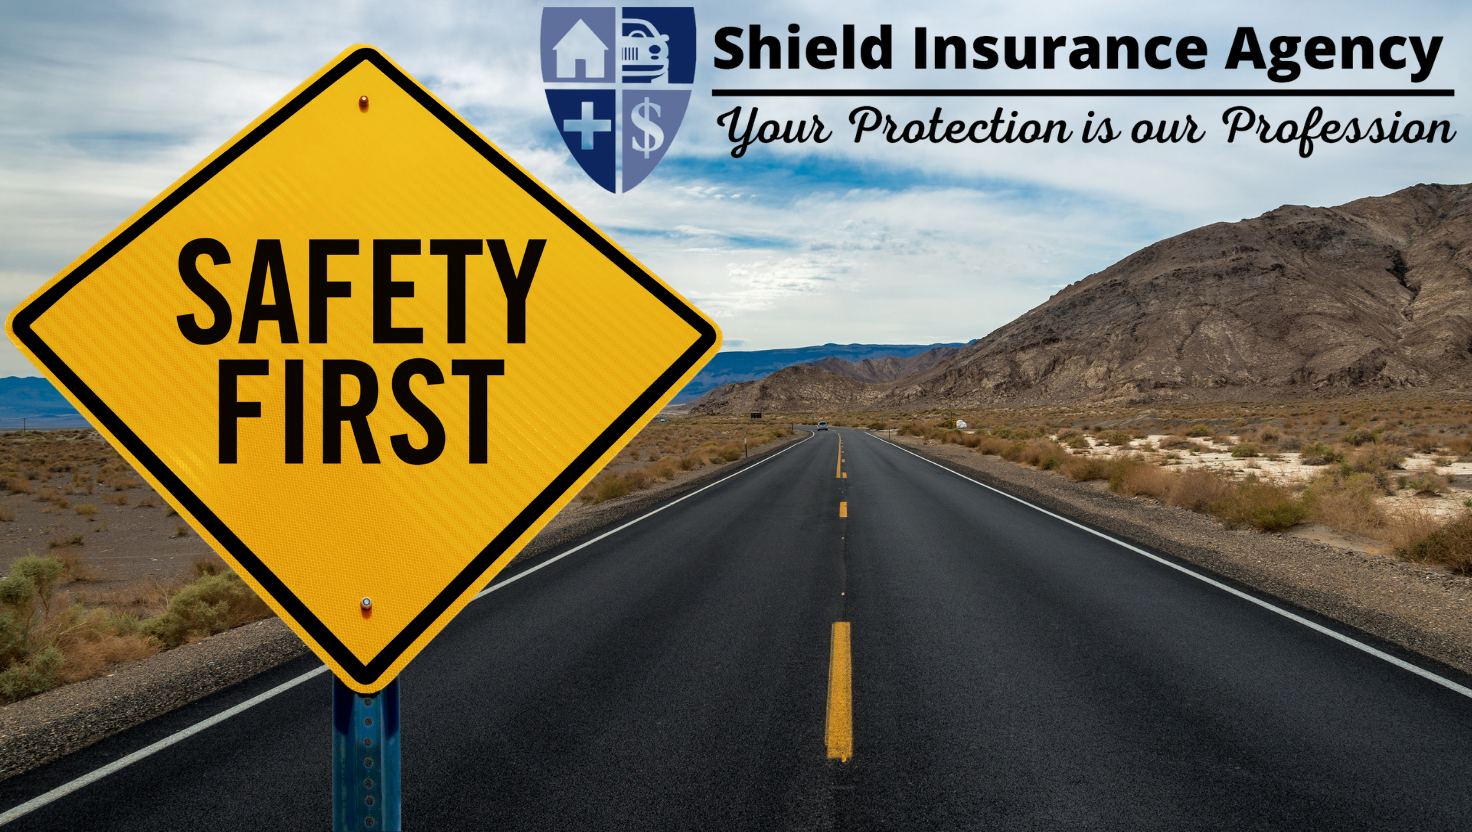
Under every circumstance, you should also always make sure you are driving at a safe speed — those speed limits are more than a suggestion! Following the posted speed for a specific stretch of road gives you the benefit of being under control regardless of twists and turns and unexpected visitors!

Recent Shield Agency Blog Posts

Read More

9 Steps to Winterizing Your Collector Vehicle

Shield Insurance Agency Blog | Winterizing Your Collector Vehicle | Start A Quote Today!

Winterizing Your Collector Vehicle?

In most of the country, cold weather is here to stay, so it’s likely time to prepare your ride for hibernation. And because collector cars don’t live the same life as a vehicle that’s driven every day, it’s important to follow a winterization process thoroughly, to ensure your car survives the cold months.

9 steps to Winterizing Your Collector Vehicle

  1. Fuel stabilizer is the engine’s best friend. As fuel sits, it degrades and coats the inside of the tank and engine parts. Stabilizer in the tank prevents that. Run the engine a little to get the treatment into the carburetor or injectors.
  2. Top off the fuel. This prevents condensation build-up in the tank.
  3. Top off the oil. Make sure the oil level is full. Once spring comes around, you will want to start the car, warm the engine up to operating temperature to burn out the moisture, and then change the oil so you are ready for show season.
  4. Test and top off anti-freeze. Testing the antifreeze is extremely important to preventing freeze damage to the inside of the engine block. Antifreeze testers are available at most auto parts stores.
  5. Clean the car before storage. Cleaning and waxing the exterior before putting a breathable car cover on, will help maintain the quality of the paint, and prevent moisture, that can cause corrosion and mildew.
  6. Tires. Inflate tires properly, and treat them with a good tire gel, both inside and outside walls.  You can also put the car on jack stands to get the weight off of the tires.  This will help prevent flat spots.
  7. Reduce moisture.The interior and exterior of the car need to be protected from moisture.   A damp garage will corrode all bare metals, damage paint, and cause mildew and mold in the interior. A small fan or a shop light with a candescent light bulb under the car will help eliminate moisture. For the interior, DampRid or some sort of moisture absorbing material will keep things clean and dry.
  8. Battery. Use a battery tender that monitors the battery and charges it when needed.
  9. Insurance. Last but not least, check your car’s insurance policy or talk with your insurance agent. Even if you’re storing your ride indoors, it’s still at risk of theft, vandalism, or physical damage.

For informational purposes only and may not be applicable to all situations.

Coverage is subject to policy terms, conditions, limitations, exclusions, underwriting review, and approval, and may not be available for all risks or in all states. Rates and discounts vary, are determined by many factors, and are subject to change. Policies are written by one of the licensed insurers of American Modern Insurance Group, Inc., including American Modern Home Insurance Company d/b/a in CA American Modern Insurance Company (Lic. No 2222-8).

More Blogs from Shield Insurance Agency

Read More

From Accident to Reimbursement in 3 Hours!

Accident to Reimbursement | Shield Insurance Agency Blog | Start A Quote Today!

QUICK CARE SAVES THE DAY: Accident to Reimbursement

The morning commute is never fun, and being rear-ended by another car can quickly take you to the worst-day-ever level.

But recently, for a State Auto customer, a day that began with a fender-bender on the way to work ended with their claim being filed, processed, and paid within 3.5 hours!

How is this possible? When our customer’s car was hit, their State Auto Safety 360® telematics device notified State Auto and initiated our Quick CARE process.

Their claim was set up at 1:04 p.m. EST. We secured photos of the damage and our Auto Physical Damage team wrote a virtual estimate by 4:30 p.m. EST. The electronic payment was then issued to our customer — all in record time.

This is just one example of how we combine technology, great customer service, and urgency to handle our claims!

What You Need to Know

State Auto Safety 360 Connect customers — who have activated their telematics device — automatically receive the Quick CARE benefit.*


If your customer is in an accident — and it registers on their telematics device — it will alert our Claims and Risk Engineering (CARE) team.**​​


When we receive the accident alert into our claims system, we quickly review the crash information (i.e. severity, location, vehicle, insured, etc.) and then call the customer. If the customer is in need of a car rental or tow truck, we can help arrange those for them, if towing service is included in their auto policy.


A claim will only be filed once the customer requests to do so. If they would simply like advice on what to do or if they’re going through the other driver’s carrier, we note it and let them know to contact us if they need anything.

*State Auto Safety 360 is available for new auto policies written on our Connect platform. It is not available for legacy policyholders. Availability and discounts vary by state.

**Accident notifications won’t transmit to our CARE team unless registered by the telematics device. The inability to register an event can be caused by a low GPS signal, a minor impact, the vehicle was turned off when hit, or your vehicle was sideswiped.

Read More

How To Winterize Your Motorcycle in 7 Simple Steps

Shield Insurance Blog | Winterize Your Motorcycle | Start A Quote Today!

Ready to winterize your motorcycle?

Cold temperatures are settling in, which means motorcycle riding season is coming to an end. Unless you live in the southwest or southern states, odds are you will be putting your ride in storage for the winter months. Unfortunately, simply keeping it covered is not enough.

If this is the first time you are winterizing your motorcycle, or you simply need a refresher, we’ve put together a simple 7-step guide to help steer you in the right direction.

  1. Fuel stabilizer is the engine’s best friend. As fuel sits, it degrades and coats the inside of the tank and engine parts. Stabilizer in the tank prevents that. Run the engine a little to get the treatment into the carburetor and injectors.
  2. Top off the fuel. This prevents condensation build-up in the tank.
  3. Old oil becomes acidic. When the engine is warm, change it, and add a small amount into the cylinders to keep them protected, too.
  4. Add anti-freeze. If the bike is liquid-cooled, refresh the anti-freeze.
  5. Wash, dry and polish. The goal is to clean off corrosive material, then build up a protective coating on the metal, chrome and leather.
  6. Stay off the concrete. Park the bike on a sheet of plywood or an old carpet, or elevate the cycle on a stand. The intent is to prevent flat spots from forming and eliminate moisture build-up under the tires.
  7. Cover it. After completing the steps above, you can now put the entire bike in a storage bag. This will keep it protected from whatever the kids or wind bring into the garage over the winter.

Last but not least, check your motorcycle insurance policy or talk with your insurance agent.  Even if you’re storing your ride indoors, it’s still at risk of theft, vandalism, or physical damage.

For informational purposes only and may not be applicable to all situations.

Read More

Rental vehicle coverage. Do you have it? Do you need it?

posted by Melissa Hunt | Shield Agency Blog | Start A Quote Today! | Rental vehicle coverage

I am currently a mother of 3 little ones so I typically need more than a compact sedan to get around. Now, imagine I get t-boned in an intersection…. I have auto insurance, I make a claim, I have collision coverage BUT I didn’t include rental vehicle coverage on my auto policy. 

Now what? I have to hope and pray that one of my family members, friends, or co-workers have a vehicle I can use otherwise I pay out of pocket for a rental. The tiniest, cheapest car would still cost me around $250/ week and a van can run upwards of $550 per week!!! The average family can not afford this extra expense, especially if there is already a deductible that will be owed from the claim.

This coverage that I was missing out on, can be as little as $5 a month depending on the insurance company and the amount of coverage you select. That is pennies compared to what it would take to keep me in a rental vehicle for up to a month! 

So, if you determine that you would need this coverage, how much do you think you would need? Depending on the insurance company, you could get anywhere from $20/day to $75/day for up to 30 days. I should have had at least $40/day if not more to be able to get a decent size vehicle for my family and me. The added perk of having this coverage is that a lot of rental vehicle companies will try to work with the coverage that you have so you will have to pay very little to nothing out of pocket.

Nowadays, there are fewer and fewer repair shops willing to provide loaner cars while your vehicle is in the shop. Those that do tend to still charge you for that loaner if they determine that your car is a total loss. They won’t get any money from you or the insurance company for the repairs to your car so they charge you for using the loaner car for those 2-3 days that it took to look over your car. The safest bet is to have the coverage on your auto policy. You can always quote out what the additional coverage would be with your agent.

Read More

7 Things to Know About Rental Car Coverage

Do you have Rental Car Coverage? After a car accident, you have enough things to worry about. Getting to work the next day shouldn’t be one of them.

We’ve all been there—and arranging alternate transportation while your vehicle is in a repair shop can be a hassle. But rental reimbursement coverage can help alleviate some stress after an accident while also saving you money.

Here are seven things you should know about before buying rental car reimbursement coverage:

1. It’s optional.
Rental reimbursement coverage does not automatically apply after an accident. As an optional coverage, it must be purchased separately. A common misconception is that auto insurance automatically covers the cost of a replacement rental car. In reality, you often have to select this coverage and apply it to the policy.

2. There is a limit.
You’ll likely have a per day and per occurrence limit. For example, if you have a 25/750 limit, your insurance company will pay up to $25 per day but no more than $750 per claim for the rental vehicle. Most insurance companies will offer several different options, allowing you to choose the limit that is right for you.

3. Your vehicle must be in the shop due to a covered loss.
Rental reimbursement coverage can be used while your vehicle is being repaired after an accident or another covered loss, not for routine maintenance or leisure. So, if your car is at the body shop after an accident, a rental car is covered up to your limit. But if your car is undergoing routine maintenance that will keep it in the shop overnight or you are renting a vehicle for a family road trip, then rental reimbursement coverage would not apply.

4. You can use it right away.
After reporting a claim, if your vehicle isn’t drivable, you can be authorized for a rental car right away. Otherwise, you will be relying on the at-fault driver’s insurance company, and you may have to wait a little while before they can assess the claim and agree to pay for a rental car. With rental reimbursement coverage, there’s no waiting.

5. No need to worry about additional insurance.
For the most part, when you have collision and comprehensive coverages in your auto insurance policy, it will transfer to the rental vehicle, eliminating the need to purchase additional coverage from the car rental agency. Check with a Shield agent, who will be able to tell you when this applies.

6. You may not need it at all.
If you have access to another vehicle, rideshare service or public transportation in the event your vehicle isn’t drivable, you may not need rental reimbursement coverage. But if you prefer the safety net of having a rental available if you need it, you may want to opt-in to this coverage.

7. It costs less than you might expect.
One year of rental reimbursement coverage will typically cost less than one day of out-of-pocket rental car expenses.

Read More

What To Expect During a Car Insurance Claim

Shield Insurance Blog | Car Insurance Claim |

When you’re involved in an auto accident, working through a claim can be stressful. But knowing what to expect can ease you through the process and help you have a pleasant experience working with your claims professional.

Although the car insurance claim process can vary, most of the basics are the same.

If you’re in an auto accident, here’s what to do:

  1. Stay at the scene.
  2. Contact the police immediately.
  3. Exchange contact information, the name of your insurance company and your auto insurance policy number with the other parties involved in the accident.
  4. If applicable, be sure to gather contact information from any witnesses.
  5. Avoid discussions of insurance policy coverage, limits or fault.
  6. Report the claim once you and your car are safe.

So, what comes next?

1. Let’s chat.
You’ll get a call from your claim representative, who will ask you about the details of your loss and explain your policy coverage and the claims process, including options for obtaining an estimate for the damage to your vehicle.

With many insurance companies, you’re able to access your account online or via a mobile app to quickly and easily check the status of your claim at any time. For example, if you’re a Grange Insurance policyholder, you can do this by logging into or creating a MyGrange account or by adding the Grange Mobile app on your smartphone

2. Get back on the road with a rental car.
If your car is no longer drivable and you have Rental Reimbursement coverage, you should be covered for the daily rate of your rental vehicle. The amount covered by your auto insurance is based on your policy’s rental reimbursement limits. Not sure if you’re covered for a rental vehicle? Your claim representative will provide direction. But, before you’re even involved in an auto accident, you should talk to your independent agent about rental reimbursement coverage and see if it makes sense to add it to your policy.

3. Sometimes claims require an investigation.
In claims with multiple vehicles, the adjuster will need to talk to all parties involved to determine things like liability, getting estimates, repair shop options, and other important factors.

4. Repair your vehicle.
While you always have the right to take your vehicle to any repair shop you like, most insurance companies can provide you with a recommended body shop that could come with extra perks, such as a lifetime guarantee on repairs while you own your vehicle, convenient scheduling, and priority service.

After you select a repair shop, your claim representative will guide you through each step of the repair process and work with you to resolve your claim fairly and effortlessly.

5. Tell your insurance company how the claim process went.
After your claim is resolved, you may receive a survey regarding your experience. Your feedback is important to your insurance provider and essential to the growth and development of their products, services, and people. If asked, be sure to provide your two cents, which will help improve the car insurance claims process for others. And lastly, consider giving kudos to an adjuster or claim representative who helped you have a great experience with your claim.

Read More

5 Tips to Safely Handle a Roadside Emergency

Shield Insurance Blog | Roadside Emergency | Start A Quote Today!

A roadside emergency can happen at any moment, but knowing how to safely respond can help you feel more prepared. Whether your tire goes flat, car battery dies or you forget to check your gas light before it hits “E”, here are five tips to help you prepare and stay safe when a roadside emergency happens to you.

1. Have the proper tools on hand.
One of the easiest ways to prepare ahead of time for a roadside emergency is having an emergency kit in your vehicle. Pre-made kits are available to buy online and in-store, or you can put together your own roadside emergency kit. Tailor your kit to the weather in your area, including items that suit you and your family, and have multiple kits or backup kits.

Some potential items to include in your emergency kit:

  • First Aid kit
  • Flashlight
  • Multipurpose tool
  • Jumper cables
  • Road flares
  • Bottled water and nonperishable snacks
  • Blanket
  • Clean, empty, refillable gas jug
  • Pencil and notepad

2. Get off the road.
If your vehicle is able to move, drive it over to the shoulder or as far out of traffic as possible. If you need to leave your vehicle and it isn’t safe to get out on your driver’s side for any reason, exit through the passenger door. If you leave, make sure to lock your vehicle and leave a note on the windshield with a phone number in case roadside assistance or a police officer stops by.

3. Make your vehicle visible to others.
Using your hazard lights is an easy way to alert other drivers to your vehicle. If included in your emergency kit, use flares, warning lights, or a hazard triangle to better alert other drivers that your vehicle is having problems.

4. Exercise caution.
Keep the doors locked if you stay in your vehicle, and when accepting help from strangers, always exercise good judgment. Keep your seatbelt fastened when sitting in your vehicle. If you exit your vehicle, stay far away from moving traffic.

5. Call for assistance.
You can’t always solve a roadside emergency by yourself, which is why it’s important to call in help when you need it. Having access to a roadside assistance service can make an emergency less frightening, especially when you’re somewhere unfamiliar when it’s dark outside or during inclement weather.

Roadside assistance services can help with a variety of car problems, and it’s good to know someone has your back if something goes wrong. Check with your auto insurance carrier or car manufacturer to see if they offer on-demand roadside assistance.

Remember to call 911 if it’s an emergency.

Read More

In case of emergency: How to prepare your phone

Shield Insurance Blog | prepare your phone | Start a Quote Today!

Today, our phones are rarely outside of our reach. This makes them one of the best tools we have for quickly responding to an emergency situation and increasing the chances of a more positive outcome.

How prepared is your phone to handle an emergency?

In most emergency situations, you would be the one to contact someone for help. So, it’s important to take a few minutes to research and save important emergency contact numbers on your phone so you can make the call immediately and get help faster.

Here are the main emergency phone numbers to save on your phone:

  • Your emergency contact, such as a parent, spouse or close friend
  • Police, 911 in the United States for emergencies
  • Poison Control Center
  • State Highway Patrol
  • Your nearest police and fire department (for non-emergencies)

You should also consider saving these important numbers in your phone to help you in an emergency:

  • Your doctor, pediatrician and/or veterinarian
  • Your pharmacy
  • Home health aides
  • Your insurance company
  • Your roadside assistance provider
  • Your employer
  • Your child’s school or caregiver
  • A nearby relative or friend
  • An out-of-town relative or friend

There are also some emergency situations, like a bad fall or car accident, where you might not be able to communicate with first responders. For this reason, it’s important to take these two steps:

  1. Add an emergency contact in your phone, such as a parent, spouse or close friend who can come to your aid.
  2. If your phone locks, set up a lock screen message to communicate helpful information to first responders, like your emergency contact, blood type, allergies and medications.

Depending on the type of phone you’re using, there are different ways to add a lock screen message.

iPhone users can use the Health app on their phones to add their basic personal information, important medical details, and emergency contact numbers within the Medical ID tab and make them accessible from their lock screen. Just make sure you select “Show When Locked” and test it out after you’ve finished setting it up.

Android users can set up their lock screen message by going into their Settings, Users & Accounts, and then Emergency Information. Enter your medical information and emergency contact. Then test it out by locking your phone, swiping up, and tapping “Emergency” to find the information you entered.

Additionally, Android lets you put any message you want on your locked screen. To do this, open your Settings, go to Security & Location, and next to the Screen Lock tab hit Settings. Then, tap Lock Screen Message. Here, you can enter your primary emergency contact or important medication information so that it always displays on your locked phone screen.

Because it’s difficult to predict when or where an emergency will happen, it is a smart idea to update your phone now so that you’re prepared to handle any situation that comes your way in the future. Be safe out there!

Read More

Who Can I Add to My Auto Insurance Policy?

Can I add my parents to my auto insurance policy even if they are aged?

Can I keep the kids on my auto insurance even tho they have moved out?

The short answer is NO. 

Who pays the MEDICAL BILLS? Covered by PIP BeforeCovered by PIP Now
Named InsuredYESYES
Spouse of named insuredYESYES
Household relatives of named insuredYESYES
Household drivers who are not related to Named InsuredYESNO
Non-Household relatives of named insured listed as driversYESNO
Other passengers or pedestriansNONO

Recent Blogs

Read More