Don’t Hit The Deer In The Headlights – Shield Insurance Agency Blog

Don’t Hit the Deer in the Headlights

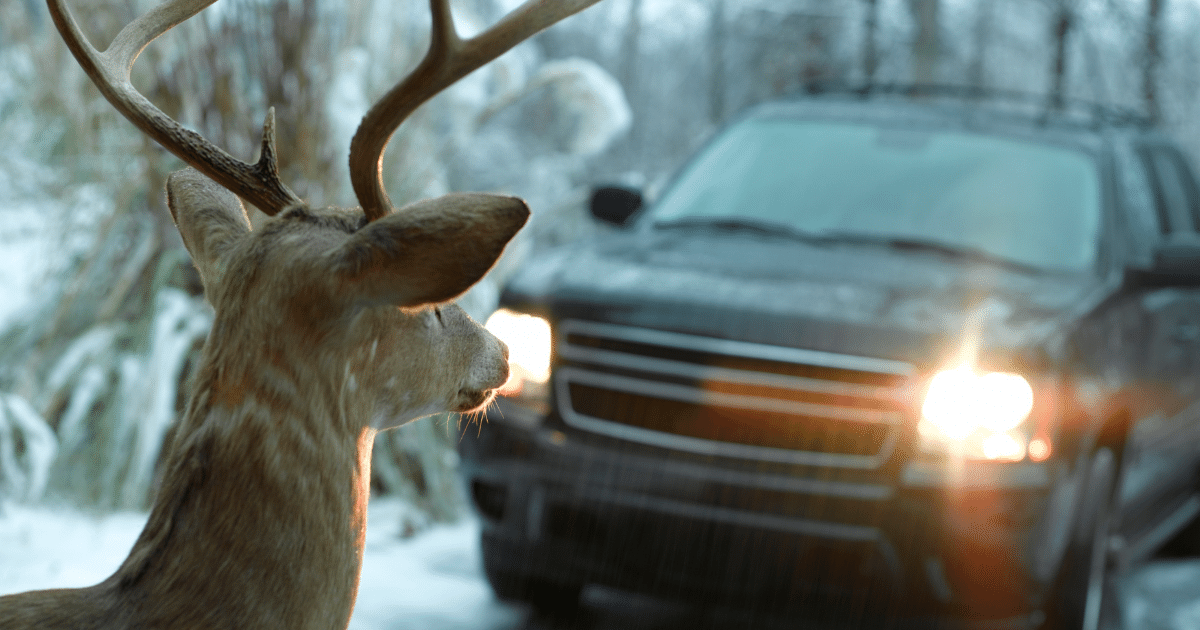
Deer in the Headlights

Just picture it — you’re driving on a winding road blasting some music, enjoying your time with family and friends, when something pops out in front of you. Do you brake? Do you try to swerve around the thing? Animals seem to have other things on their mind near the roads, and can often jump out at us while we drive, which can cause major safety issues. These moments need a quick response but it can be challenging to think through what to do and then do it on the fly. That’s why we’re providing some guidelines to help prevent a collision between your car and an animal during this season!

  • Fasten your seatbelt. While this will not help you avoid hitting an animal, it is the best way to help ensure safety for you and the passengers in your car. Buckle up during every auto trip!
  • Pay attention to animal-crossing signs. These yellow, diamond-shaped signs on the side of the road with an animal picture on them (deer, moose, bear) warn you about areas where the pictured animal is known to cross the road.
  • Use your high beams whenever possible (as long as there is not oncoming traffic) during this time of the year. The extra light does a great job of revealing your surroundings, and is especially good at lighting up animal eyes along the side of the road, where deer and other wildlife are most likely to congregate.
  • Honk your horn in short bursts (for deer)If you are in an environment with a high likelihood for deer crossings, honk your horn in short spurts throughout the drive to scare away any deer that may have been near the road. However, honking your horn too much may confuse the deer and lead them closer to the road, so make sure you are rationing out those honks throughout the trip.
  • Be especially alert at dawn and dusk. Animals are most likely to be roaming at dawn and dusk, so stay especially alert during these times to avoid collision.

If a Deer in the Headlights appears on the road…

  • Never swerve! Don’t do it. The instinctual action of swerving can actually cause more harm than good because you may swerve into the other lane with oncoming traffic, a tree, a fence, or road sign, which can increase your chance of injury.
  • Drive towards where the animal came from. Roaming wildlife are most likely to either stand where they are discovered in fear or will run onward in the continual direction from whence they came. If you feel you can safely maneuver your car, your best option to miss the animal is to drive towards the direction where the animal came from (this will not work for deer).
  • Brake firmly. Unless there is a car directly behind you, brake firmly and safely slow your vehicle. If there is a car close by, slow down, but make sure to honk your horn to signal to the other driver that there is a problem ahead. By the way, Mythbusters busted the myth that speeding up will decrease your chances of injury — so don’t do that!
  • Lean towards a door pillar. In the event of an unavoidable crash, leaning towards a door pillar will give an extra layer of protection between you and the approaching impact. In most instances of a severe collision between man and animal, the center of the car is crushed, so lean towards the door pillar to benefit from the added protection of the pillar.

Under every circumstance, you should also always make sure you are driving at a safe speed — those speed limits are more than a suggestion! Following the posted speed for a specific stretch of road gives you the benefit of being under control regardless of twists and turns and unexpected visitors!

Recent Shield Agency Blog Posts

Read More
Thanksgiving Fires, Turkey Fryers And Safety – Shield Insurance Agency Blog

Thanksgiving Fires, Turkey Fryers and Safety

Thanksgiving Fires, Turkey Fryers and Safety

I am feverishly preparing for what I consider to be a rite of passage: I’m hosting Thanksgiving for the first time. While I love to cook and host my family from time to time, there’s something extra intimidating about preparing the quintessential meal of the year. How do I manage to prepare a turkey, stuffing, potatoes, and vegetables at the same time? In one oven? Without a Thanksgiving Fire!? At this point, I have a spreadsheet listing what I need to do on Tuesday, Wednesday, and Thursday and the baking times and temperatures broken down in chronological order. (Thank goodness my mom is bringing the pumpkin pie.)

While I was researching ways to prevent the turkey from drying out, I stumbled upon this fact. According to the National Fire Protection Agency (NFPA), Thanksgiving is the peak day for cooking-related home fires. Add another thing to worry about to the list.

It’s pretty clear to see why 69% of all home fires on Thanksgiving are cooking fires. People are stressed and busy, which can lead to carelessness and inattention in the kitchen. Let me join the chorus and reiterate the NFPA’s tips regarding cooking safety:

  • Make sure your stovetop is clear of anything that could catch fire, like oven mitts, towels, hot pads, wooden utensils and food packaging.
  • If you are frying, grilling, or broiling, stay in the kitchen. If you have to leave the kitchen, even for a short period of time, turn off the stove.
  • If you are simmering, baking, roasting, or boiling, check on your food regularly and remain in your home. Use a timer help remind you that you are cooking.
  • Only cook when you are alert. If you are sleepy or have consumed alcohol, don’t use the stove.

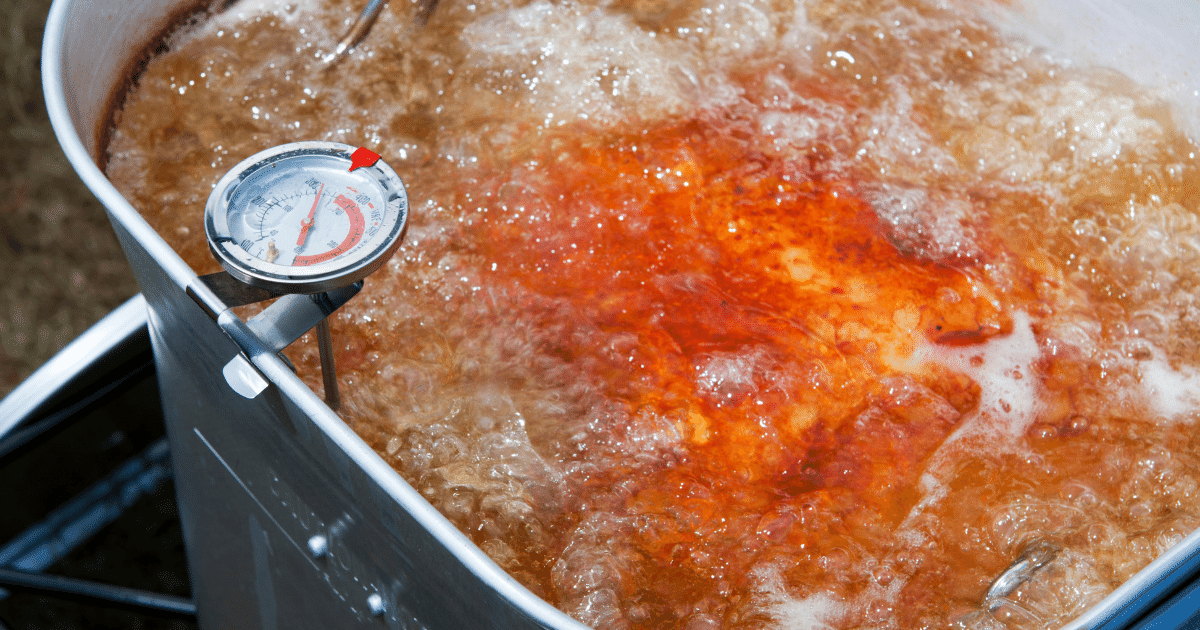
Then there’s the use of turkey fryers, which the NFPA actually discourages. So does Underwriters Laboratory (UL), which will not certify any turkey fryers with their UL Mark. This video explains why UL finds those appliances dangerous.

Recent Posts

Read More
Preventing Wildfires – Shield Insurance Agency Blog

Preventing Wildfires

Preventing Wildfires and Staying Safe from the Risk

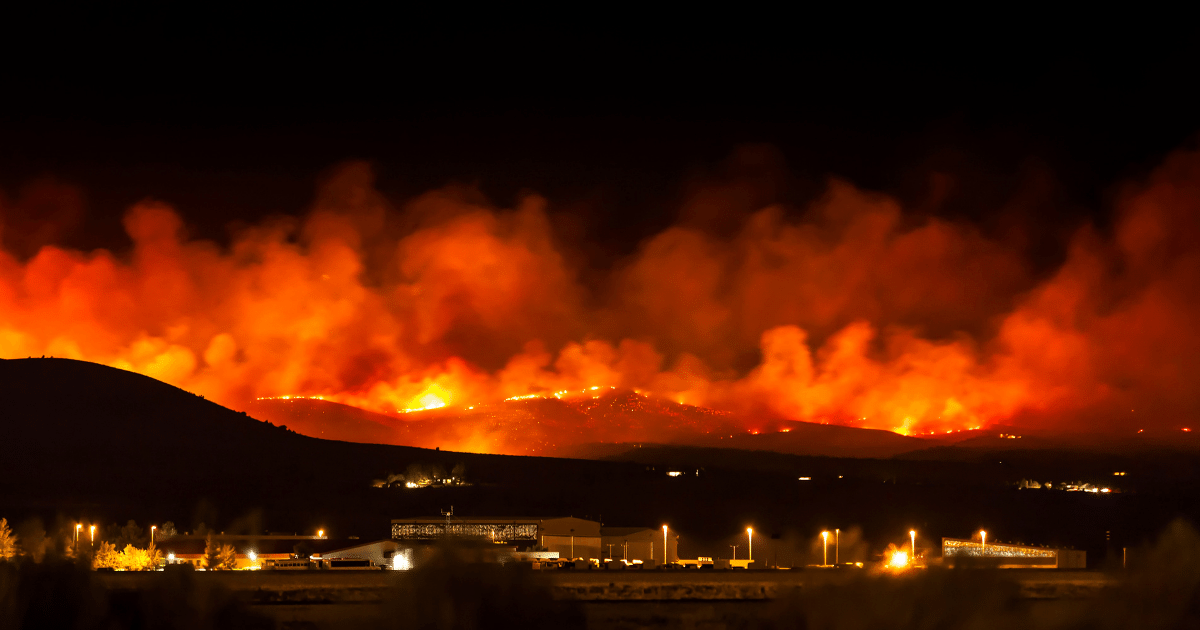
According to the National Interagency Fire Center, 63,546 human-caused wildfires burned nearly 5 million acres in 2017. To put this into perspective, consider the size of New York City. At 92,781 acres, New York City could have burned 54 times over with that amount of acreage!

That’s 5 million acres that didn’t have to burn if the ‘you’ part of the wildfire equation had followed proper burning protocol.

Warm weather increases the wildfire threat to many parts of the country. That warmth and dryness entice many people to clean up their yards and burn the debris. If not properly controlled, these fires will grow to become uncontrollable. Fortunately, most human-caused fires are preventable when proper precautions are taken. Here are just a few things you can do to avoid starting a wildfire:

Staying Safe from the Risk

  • Follow the law. The community you live in may have burning regulations, like requiring permits, restrictions on the times and places for open burning, and restrictions on the items that can be burned. Check with your local officials before burning anything.
  • Watch the weather. Don’t attempt to burn on windy days or during periods of drought. Check with your local fire official to make sure the weather conditions are safe for burning.
  • Choose the right site. The burn site should be surrounded by gravel or dirt for at least ten feet in all directions and kept wet to prevent the fire from spreading.
  • Never leave a fire unattended. Sparks could blow into leaves or grass and spread quickly.
  • Keep water nearby. Keep a garden hose or bucket of water close to help control the fire in an emergency.
  • Extinguish the fire properly. Use water to extinguish the fire completely by dousing the site and stirring until everything is drowned and not emitting any heat whatsoever. Any remaining coals should also be scooped up with a shovel and dunked into cold water. When you are done, everything in the fire pit should be cold to the touch.
  • Consider alternatives to burning. Yard waste can be made into mulch or composted, while newspapers and many other items can be recycled.

Every year, many families lose their homes and possessions to wildfires caused by humans. Don’t be a part of the statistics. Show your commitment to wildfire prevention, because your safety is number one to us!

To help educate your children on preventing wildfires, check out Smokey the Bear, he’s a pretty smart fellow.

Read More
9 Steps to Winterizing Your Collector Vehicle - Shield Insurance Agency Blog

9 Steps to Winterizing Your Collector Vehicle

Shield Insurance Agency Blog | Winterizing Your Collector Vehicle | Start A Quote Today!

Winterizing Your Collector Vehicle?

In most of the country, cold weather is here to stay, so it’s likely time to prepare your ride for hibernation. And because collector cars don’t live the same life as a vehicle that’s driven every day, it’s important to follow a winterization process thoroughly, to ensure your car survives the cold months.

9 steps to Winterizing Your Collector Vehicle

  1. Fuel stabilizer is the engine’s best friend. As fuel sits, it degrades and coats the inside of the tank and engine parts. Stabilizer in the tank prevents that. Run the engine a little to get the treatment into the carburetor or injectors.
  2. Top off the fuel. This prevents condensation build-up in the tank.
  3. Top off the oil. Make sure the oil level is full. Once spring comes around, you will want to start the car, warm the engine up to operating temperature to burn out the moisture, and then change the oil so you are ready for show season.
  4. Test and top off anti-freeze. Testing the antifreeze is extremely important to preventing freeze damage to the inside of the engine block. Antifreeze testers are available at most auto parts stores.
  5. Clean the car before storage. Cleaning and waxing the exterior before putting a breathable car cover on, will help maintain the quality of the paint, and prevent moisture, that can cause corrosion and mildew.
  6. Tires. Inflate tires properly, and treat them with a good tire gel, both inside and outside walls.  You can also put the car on jack stands to get the weight off of the tires.  This will help prevent flat spots.
  7. Reduce moisture.The interior and exterior of the car need to be protected from moisture.   A damp garage will corrode all bare metals, damage paint, and cause mildew and mold in the interior. A small fan or a shop light with a candescent light bulb under the car will help eliminate moisture. For the interior, DampRid or some sort of moisture absorbing material will keep things clean and dry.
  8. Battery. Use a battery tender that monitors the battery and charges it when needed.
  9. Insurance. Last but not least, check your car’s insurance policy or talk with your insurance agent. Even if you’re storing your ride indoors, it’s still at risk of theft, vandalism, or physical damage.

For informational purposes only and may not be applicable to all situations.

Coverage is subject to policy terms, conditions, limitations, exclusions, underwriting review, and approval, and may not be available for all risks or in all states. Rates and discounts vary, are determined by many factors, and are subject to change. Policies are written by one of the licensed insurers of American Modern Insurance Group, Inc., including American Modern Home Insurance Company d/b/a in CA American Modern Insurance Company (Lic. No 2222-8).

More Blogs from Shield Insurance Agency

Read More
From Accident to Reimbursement in 3 Hours - Shield Insurance Agency Blog

From Accident to Reimbursement in 3 Hours!

Accident to Reimbursement | Shield Insurance Agency Blog | Start A Quote Today!

QUICK CARE SAVES THE DAY: Accident to Reimbursement

The morning commute is never fun, and being rear-ended by another car can quickly take you to the worst-day-ever level.

But recently, for a State Auto customer, a day that began with a fender-bender on the way to work ended with their claim being filed, processed, and paid within 3.5 hours!

How is this possible? When our customer’s car was hit, their State Auto Safety 360® telematics device notified State Auto and initiated our Quick CARE process.

Their claim was set up at 1:04 p.m. EST. We secured photos of the damage and our Auto Physical Damage team wrote a virtual estimate by 4:30 p.m. EST. The electronic payment was then issued to our customer — all in record time.

This is just one example of how we combine technology, great customer service, and urgency to handle our claims!

What You Need to Know

State Auto Safety 360 Connect customers — who have activated their telematics device — automatically receive the Quick CARE benefit.*


If your customer is in an accident — and it registers on their telematics device — it will alert our Claims and Risk Engineering (CARE) team.**​​


When we receive the accident alert into our claims system, we quickly review the crash information (i.e. severity, location, vehicle, insured, etc.) and then call the customer. If the customer is in need of a car rental or tow truck, we can help arrange those for them, if towing service is included in their auto policy.


A claim will only be filed once the customer requests to do so. If they would simply like advice on what to do or if they’re going through the other driver’s carrier, we note it and let them know to contact us if they need anything.

*State Auto Safety 360 is available for new auto policies written on our Connect platform. It is not available for legacy policyholders. Availability and discounts vary by state.

**Accident notifications won’t transmit to our CARE team unless registered by the telematics device. The inability to register an event can be caused by a low GPS signal, a minor impact, the vehicle was turned off when hit, or your vehicle was sideswiped.

Read More
How To Winterize Your Motorcycle in 7 Simple Steps - Shield Insurance Agency Blog

How To Winterize Your Motorcycle in 7 Simple Steps

Shield Insurance Blog | Winterize Your Motorcycle | Start A Quote Today!

Ready to winterize your motorcycle?

Cold temperatures are settling in, which means motorcycle riding season is coming to an end. Unless you live in the southwest or southern states, odds are you will be putting your ride in storage for the winter months. Unfortunately, simply keeping it covered is not enough.

If this is the first time you are winterizing your motorcycle, or you simply need a refresher, we’ve put together a simple 7-step guide to help steer you in the right direction.

  1. Fuel stabilizer is the engine’s best friend. As fuel sits, it degrades and coats the inside of the tank and engine parts. Stabilizer in the tank prevents that. Run the engine a little to get the treatment into the carburetor and injectors.
  2. Top off the fuel. This prevents condensation build-up in the tank.
  3. Old oil becomes acidic. When the engine is warm, change it, and add a small amount into the cylinders to keep them protected, too.
  4. Add anti-freeze. If the bike is liquid-cooled, refresh the anti-freeze.
  5. Wash, dry and polish. The goal is to clean off corrosive material, then build up a protective coating on the metal, chrome and leather.
  6. Stay off the concrete. Park the bike on a sheet of plywood or an old carpet, or elevate the cycle on a stand. The intent is to prevent flat spots from forming and eliminate moisture build-up under the tires.
  7. Cover it. After completing the steps above, you can now put the entire bike in a storage bag. This will keep it protected from whatever the kids or wind bring into the garage over the winter.

Last but not least, check your motorcycle insurance policy or talk with your insurance agent.  Even if you’re storing your ride indoors, it’s still at risk of theft, vandalism, or physical damage.

For informational purposes only and may not be applicable to all situations.

Read More