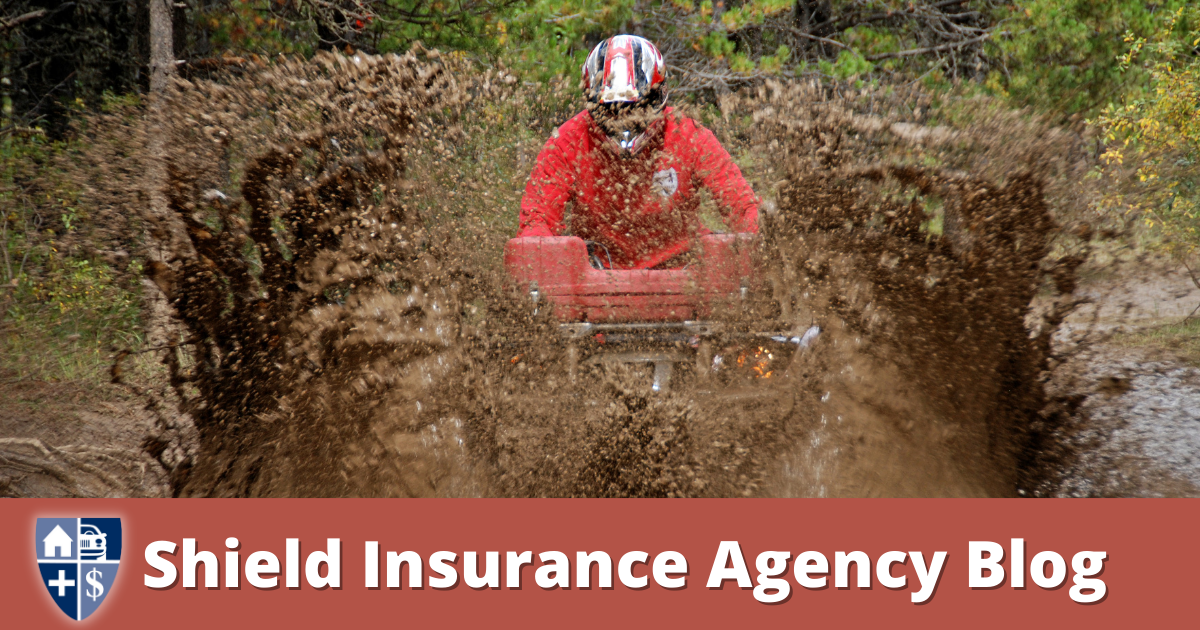
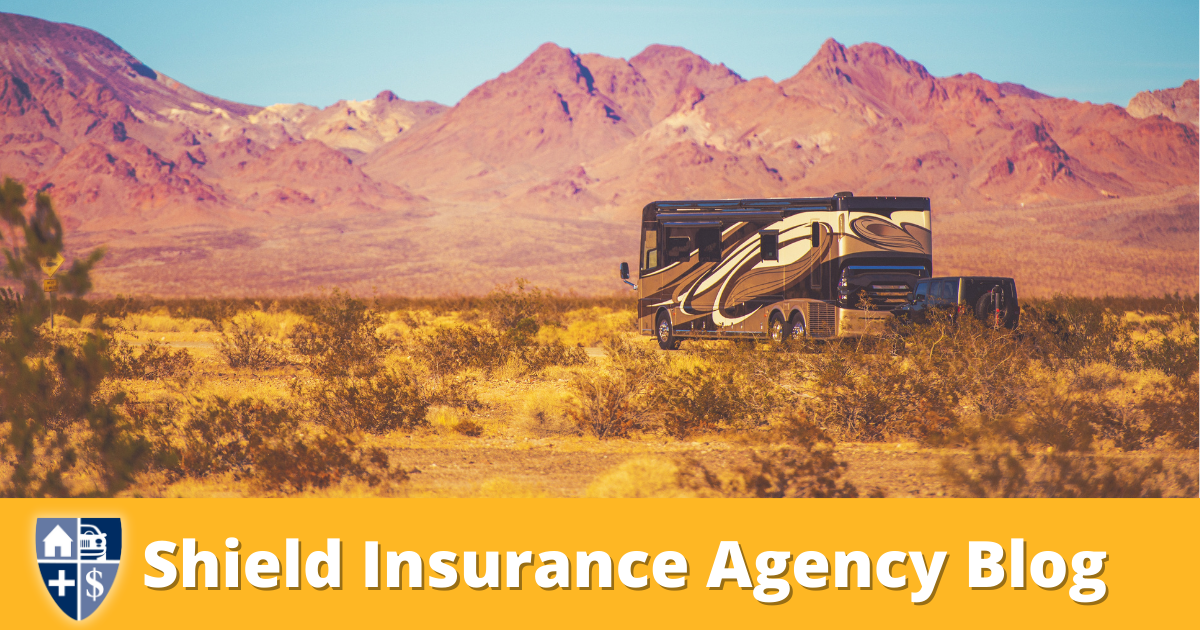
Top eight towing mistakes people make
The Foremost Creative Team | towing mistakes | Auto Insurance | Start a Quick Quote here!
The idea of hauling something huge behind your truck or SUV may sound like a fun adventure, but for those who aren’t familiar with the complexities of towing, it can actually be pretty intimidating! According to Complete Trailers LLC, there are eight common mistakes people make while towing. To avoid costly damages, read this list before you hitch and go:
Towing Mistakes: Overworking Your Engine
The number one towing mistake people make is overworking their tow vehicle. Overextending your vehicle can start a landslide of engine problems. This mistake could lead to a meltdown on the side of the road and potentially require a brand-new transmission. To avoid this, keep an eye on your pressure, temperature gauges, and exhaust gas temperature gauges.
Towing Mistakes: Weight Distribution Bars
If you don’t have your weight distribution bars set up right, you’re bound to have your vehicle and trailer bouncing from each other. Your ride will be bumpier than usual and the hitch and frame can be damaged from this too. And when it comes to weight distribution bars, bigger is not better. The bars with chains are tunable and come in various strengths and weights. If you properly load the correct bar size, they’ll be parallel to the trailer’s frame.
Towing Mistakes: Checking or Maintaining Brakes
Brakes are the most essential and overlooked safety system. Trailer brakes don’t self-adjust like the brakes on your tow vehicle. In fact, they must be manually adjusted by you. Additionally, trailer brakes wear out just like any other brake does, so be sure to check for wear and tear regularly.
Poorly Loaded Vehicles us a towing mistake
It’s crucial for safety and damage prevention to always put a balanced load on your trailer. Read up on weight restrictions and follow them closely because if you don’t, your tow vehicle won’t last very long.
Wrong Ball/Ball Mount
Make sure that you have the right ball and mount for your trailer. There are three different sizes of balls: 1 7/8 inches, 2 inches, and 2 5/16 inches — each with a different weight rating. Using the wrong mount or ball will pitch your trailer up or down on your axles and it also puts extra stress on your brakes and tires, which eventually reduces your braking ability. If you use multiple trailers, carry multiple mounts.
“Racing” While Towing
We know how exciting it is to get to a destination, but remember, slow and steady wins the race! Speeding up or down a grade is the last thing you want to do because it’ll ruin the longevity of your tow vehicle.
Low-Pressure Tires
If you maintain the right tire pressure on both your tow vehicle and trailer, you’ll have even tire wear, which means you’re less likely to have blowouts from overheating. This scenario is especially dangerous when it happens on your rear trailer tires, so make sure to pay special attention to them. Tires degrade more quickly when not in use. Before you hitch and go, remember to always inspect your tires and pressure.
Not Lubing Your Components
Like any well-oiled machine, taking preventative measures with your trailer and tow vehicle goes a long way. Axles and all pivot points where steel meets steel (or rubber bushings meet steel) should be greased.
Shield Insurance Agency wants you to travel and tow safely.