Helping turtle friends cross the road

Foremost | by Niki King-Todd | Turtle | Start a Quote with Shield Insurance | Auto Insurance

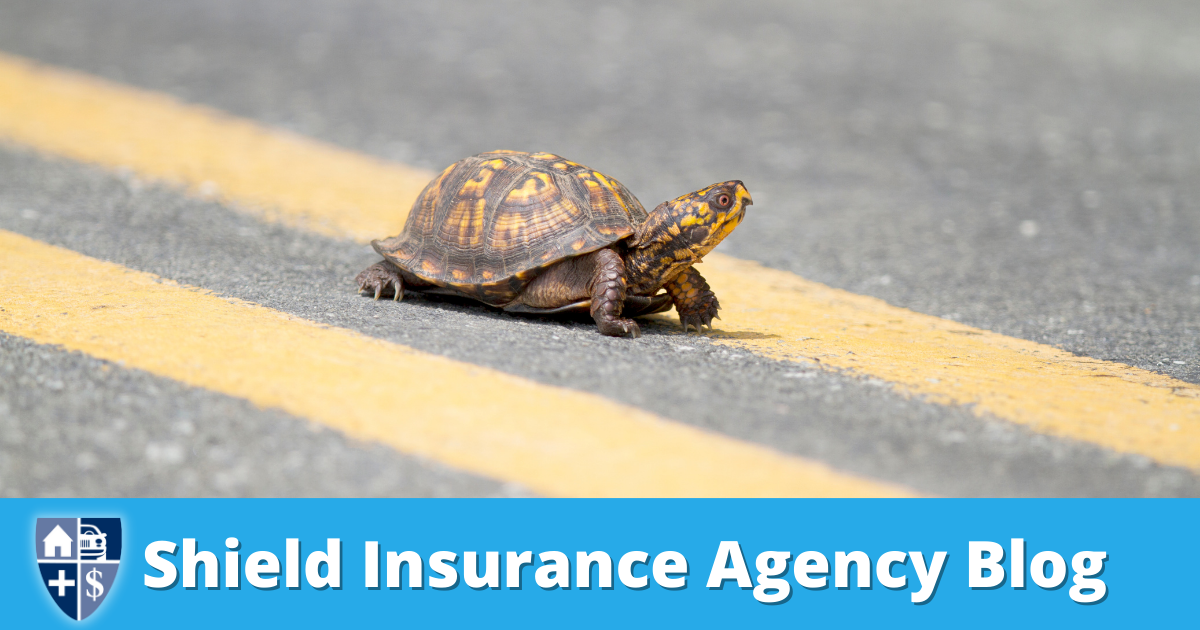
Did you know that May 23 is World Turtle Day? It’s all about raising awareness for turtles and encouraging people to help them survive. Participating can be as simple as helping a turtle cross the road.

Most turtles begin to move as the weather warms. This may be for mating, nesting or many other reasons. Of course, turtles move much slower than cars (and don’t understand human traffic laws), which makes crossing the road incredibly dangerous. To celebrate and protect all of the turtles out there, here are some tips for safely helping them reach their destination!

Turtle Safety First

If you see a turtle on the road, remember to use the correct signals when pulling over. Keep your flashers on to warn oncoming vehicles and always check your surroundings.

Moving the Turtle

If the turtle is moving at a decent pace, you may be able to stand nearby and watch it cross. If the turtle is stagnant (or if you are uncomfortable touching the turtle), you may use a blunt object to help push it. Make sure the object isn’t sharp, and be gentle! This will be your best option for moving a snapping turtle, they may bite if you use your hands.

Picking up the Turtle

Most turtles will hide in their shells if they are frightened, which makes it easier for you to pick them up. Place both of your hands behind the front legs and towards the back legs. The turtle may try to kick, so don’t hold it up high – you don’t want to drop it! Also, it’s very important to never pick up a turtle by the tail, as this can severely injure them.

Car Mat

Another option for moving the turtles is using a car mat. This works best for larger turtles that you may not be able to lift. You can allow the turtle to walk onto the mat, or help gently push it onto the mat. Be sure to carry the mat low to the ground in case the turtle falls off.

Going in the Same Direction

Be sure to move the turtle in the same direction it was trying to go. If you place it back where it was coming from, it will most likely turn around and return to the road.

Do Not Take it with You

Turtles and other wildlife are meant to stay in the wild. No matter how cute turtles can be, resist the temptation to bring them home. When taken out of their home areas, they will most likely try to go back. They are not pets so they need to be in their natural environment.

Injured Turtles

An injured turtle may look dead, so if you are unsure as to whether or not the turtle is injured, there are a few tricks you can try. Try gently touching the back of their foot, or touch the corner of its eye to test for a reaction. The turtle may try and kick, or move its head or eyes. If a turtle has a crack in its shell, it might drown if it returns to the water. If the turtle you find has a damaged shell, or seems seriously injured, contact a professional. Many veterinarians, animal shelters and wildlife rehabilitation centers will treat them for free.


More great articles by Shield Insurance Blog

Read More
Top eight towing mistakes people make

Top eight towing mistakes people make

The Foremost Creative Team | towing mistakes | Auto Insurance | Start a Quick Quote here!

The idea of hauling something huge behind your truck or SUV may sound like a fun adventure, but for those who aren’t familiar with the complexities of towing, it can actually be pretty intimidating! According to Complete Trailers LLC, there are eight common mistakes people make while towing. To avoid costly damages, read this list before you hitch and go:

Towing Mistakes: Overworking Your Engine

The number one towing mistake people make is overworking their tow vehicle. Overextending your vehicle can start a landslide of engine problems. This mistake could lead to a meltdown on the side of the road and potentially require a brand-new transmission. To avoid this, keep an eye on your pressure, temperature gauges, and exhaust gas temperature gauges.

Towing Mistakes: Weight Distribution Bars

If you don’t have your weight distribution bars set up right, you’re bound to have your vehicle and trailer bouncing from each other. Your ride will be bumpier than usual and the hitch and frame can be damaged from this too. And when it comes to weight distribution bars, bigger is not better. The bars with chains are tunable and come in various strengths and weights. If you properly load the correct bar size, they’ll be parallel to the trailer’s frame.

Towing Mistakes: Checking or Maintaining Brakes

Brakes are the most essential and overlooked safety system. Trailer brakes don’t self-adjust like the brakes on your tow vehicle. In fact, they must be manually adjusted by you. Additionally, trailer brakes wear out just like any other brake does, so be sure to check for wear and tear regularly.

Poorly Loaded Vehicles us a towing mistake

It’s crucial for safety and damage prevention to always put a balanced load on your trailer. Read up on weight restrictions and follow them closely because if you don’t, your tow vehicle won’t last very long.

Wrong Ball/Ball Mount

Make sure that you have the right ball and mount for your trailer. There are three different sizes of balls: 1 7/8 inches, 2 inches, and 2 5/16 inches — each with a different weight rating. Using the wrong mount or ball will pitch your trailer up or down on your axles and it also puts extra stress on your brakes and tires, which eventually reduces your braking ability. If you use multiple trailers, carry multiple mounts.

“Racing” While Towing

We know how exciting it is to get to a destination, but remember, slow and steady wins the race! Speeding up or down a grade is the last thing you want to do because it’ll ruin the longevity of your tow vehicle.

Low-Pressure Tires

If you maintain the right tire pressure on both your tow vehicle and trailer, you’ll have even tire wear, which means you’re less likely to have blowouts from overheating. This scenario is especially dangerous when it happens on your rear trailer tires, so make sure to pay special attention to them. Tires degrade more quickly when not in use. Before you hitch and go, remember to always inspect your tires and pressure.

Not Lubing Your Components

Like any well-oiled machine, taking preventative measures with your trailer and tow vehicle goes a long way. Axles and all pivot points where steel meets steel (or rubber bushings meet steel) should be greased.

Shield Insurance Agency wants you to travel and tow safely.


More great articles are at the Shield Insurance Agency Blog

Read More
Pet Safety Tips

Pet Safety Tips for the Summer

Foremost Insurance | by Jenean McLoskey | Pet Safety Tips | Pet Insurance | Shield Insurance

Pet Safety Tips

Summertime means spending long days in hot, sunny weather with your furry loved ones by your side. It’s the perfect time for you and your pet to be more active. However, having a fur coat can pose some risks for your pets if they are in the sun for too long. Since they don’t sweat like humans, they can overheat a lot faster than we can. But don’t worry! There are plenty of precautions you can take to ensure they’ll be safe and content in the summer heat. Here are five pet safety tips to keep in mind while playing outside this summer:

Have plenty of water on hand.

Your pet will be thirstier than normal during the summer and can get dehydrated very quickly. Always provide plenty of fresh, cold water as needed. If you’re going on a long walk, have a few water bottles on hand for water breaks, and keep them in the shade as much as possible.

Never leave your pet in a car unattended.

This is extremely important! Leaving animals in a parked vehicle is incredibly dangerous. Even if the windows are down, they’re still at risk of fatal heat stroke.

Keep their paws protected.

Walking on hot cement or asphalt for long periods of time can cause your pet to overheat a lot quicker, and can burn their sensitive paws. Always feel the pavement before taking a walk to see how hot it is, and walk them in the early morning or evening when it’s not the hottest time of the day.

Never use fireworks around your pets.

Celebrating with fireworks during the summer is fun and exciting for most humans, but it can be traumatizing for your dog or cat. Loud noises can scare and disorient them, and lit fireworks could cause accidental severe burns. Always keep them away from the noise in a safe, sheltered area.

Know the symptoms of overheating.

Dogs and cats are at high risk of overheating during the summer. If you notice any heavy panting, thick drool, or vomiting, move them to a cool place and give them water immediately. You may get a damp towel and wrap it around them, but experts advise to never put them in cold water because it can cause shock. If symptoms don’t improve, take them to your local vet right away.

If you practice these safety tips, you should feel confident to enjoy the summer with your furry friends. Have fun and be safe!

Need Pet Insurance to go along with the Pet Safety Tips?


More great articles are at the Shield Insurance Agency Blog!

Read More
ATV Trail Riding Survival Kit

ATV Trail Riding Survival Kit

Foremost Insurance | by Marrio Roberts Jr. | Survival Kit | Recreational Vehicle Insurance | Start A Quote

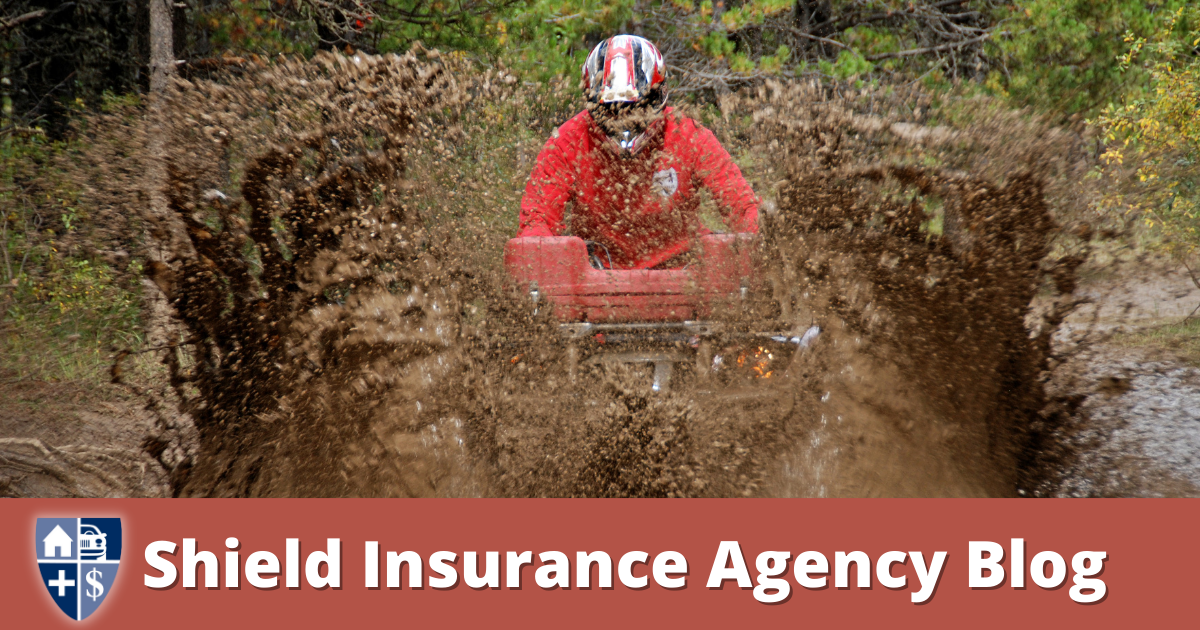
ATVs and other off-road vehicles are adaptable to many situations. With that being said, you can’t always predict what will happen on off-road adventures. If you need to perform emergency maintenance, it will help to be equipped with the proper tools. To prepare yourself in advance, Foremost® Insurance recommends keeping the following items in your ATV emergency kit.

Air pump and tire repair kit.

When traveling off-road you’re more likely to encounter various bumps in the road, like rocks or even holes, that can flatten your tire. If you have a tire repair kit handy, you should be able to patch small holes. Many repair kits come with air pumps, but it may be a great idea to bring an extra one just in case.

Tool kit within the Survival Kit

It helps to have a tool kit handy if you can. If you need to remove a tire or access a part of the vehicle that’s enclosed under something else, you may need more than just your hands to get the job done.

Duct Tape.

While we don’t recommend using duct tape for any serious repairs, it may be able to temporarily patch a leak in a water hose or radiator bottle, for example, which can buy you enough time to get to a repair shop. Additionally, duct tape can be useful if you or someone else falls off a vehicle. We highly recommend seeking professional medical attention in this situation, but if someone twists their ankle, using duct tape can help to stabilize it until you get to a medical facility.

A knife.

A knife can be useful if you or someone you’re with has an injury, as it can be used to cut bandages and wrap tourniquets. Whether you opt for a Swiss army knife or a regular pocket knife is up to you. A Swiss army knife may apply to more situations overall, but in terms of practicality, a pocket knife may be enough.

Jumper cables as part of the Survival Kit

Of course, jumper cables will be useful if you or someone else’s vehicle loses battery power. We recommend always keeping these with you.

First aid kit within the Survival Kit

First aid kits can be useful for treating minor scratches and bruises. With the unpredictable terrain of off-road adventures, you never know when you’d need these.

Bug spray.

It’s not uncommon to encounter bugs when you’re off-roading. If you don’t want those pesky creatures bothering you, keep some bug spray in the vehicle. This way if you forget to put some on before you head out, or if it wears out, you’ll always have some to reapply.

Spare tire.

While we do advise keeping a tire repair kit, they don’t work in every situation. There may be times when a tire is damaged beyond repair. In this case, you’ll need a spare tire.

Spare parts for the survival kit

You should keep a spare of the following parts: belt, spark plug, tie-rods, and ball joints. While these require a bit of handy work to replace, if you don’t have any spares on hand, you may become stranded.

Tow strap.

If you do become stranded, you will need someone to tow your vehicle to a safe place. We advise you to keep a tow strap on hand in case this happens.

To lessen your chances of having emergency situations, please ride safely.

If you’re looking for ATV insurance, UTV insurance, or insurance for another off-road vehicle (ORV), you can get a quote with Shield Insurance Agency today!


More great articles featured by Shield Insurance Agency

Read More
How to Hitch a Trailer

How to Hitch a Trailer

Foremost Insurance | by Marrio Roberts Jr. | Hitch a Trailer | Auto Insurance | Request a Comparison Quote

Hooking up a trailer to a vehicle requires patience and attention to detail. If you don’t know what you’re doing, the process can be frustrating, and way harder than it should be. Luckily, Foremost® prepared this guide to help you feel more confident and move forward with a plan.

First of all, remember that ball hitches are not one-size-fits-all. Before you start towing anything, research to make sure you have the right ball hitch for the situation.

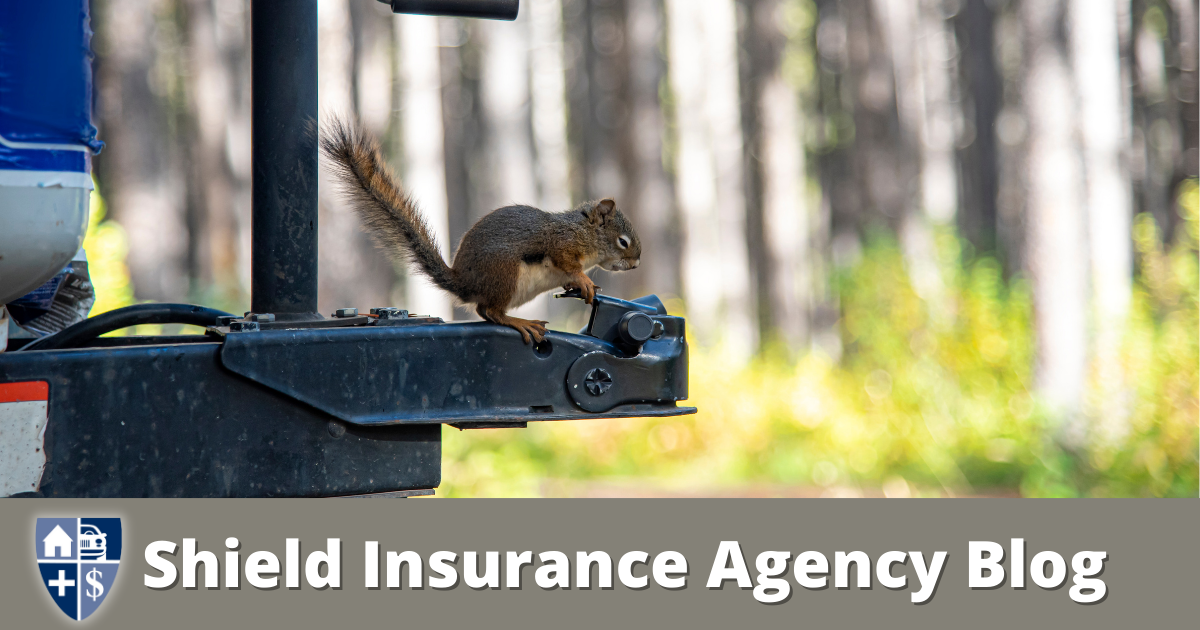
Once you know you have the right ball hitch, you can get started. According to driving-tests.org, the first thing you should do is use the trailer jack to position the coupler a few inches higher than the ball hitch. Then, you should align the ball hitch with the coupler on your trailer, and back the vehicle up so that the coupler is directly above the hitch.

Once aligned, you should be able to lower the coupler onto the hitch. Then, you can latch the coupler and lock it in place. After that’s complete, you can remove the jack.

Next, you should attach the safety chains from the trailer to the vehicle in a crisscross pattern. So, attach the left chain to the right side, and attach the right chain to the left side. This pattern is recommended so that the chains can catch the trailer if it detaches.

When all that is done, you can plug in the electrical wires from the trailer to the vehicle. Be sure to check all lights to ensure they’re working properly. If they are, you’ll be all hitched up and ready to go!

Shield Insurance Agency has insurance policies for cars, trucks, trailers, boats, and many other things you could be towing. If you’re looking for insurance, you can get a quote with us today!


More great articles featured by Shield Insurance Agency

Read More
Is it Time for a Roof Replacement?

Is it Time for a Roof Replacement? Look for These 8 Warning Signs

Foremost Insurance Blog | by Jenean McLoskey | Roof Replacement | Home Insurance | Quoting Portal

You may tend to overlook your roof, but it’s actually one of the most important component of your home – and the most vulnerable. It protects you from the elements like rain, snow and sun, but roofs don’t last forever and it may be time for a roof replacement.

You may not think about the importance of roofs until you, a neighbor, or a friend has a situation that causes a reality check. So, when it comes to roof maintenance, there are two key questions you should be asking:

How long does a roof last? According to the Good Housekeeping magazine, shingle roofs should last between 15-30 years (if you have a different type of roof, such as metal or clay tile, you may have to follow different rules). If your home is new or the roof was recently replaced, you should be in the clear. However, it doesn’t hurt to do a checkup after getting hit with severe weather like a hailstorm, ice and snow or crazy rain.

Here are eight warning signs to look for when condiering a roof replacement:

  • Loose shingle tabs
  • Cracks in shingles
  • Broken or missing tabs
  • Buckling or curling shingles
  • Shingles covered in moss or algae
  • Majority of granules worn off tabs
  • Sunlight is shining through the attic
  • Extensive leaking

According to Home Advisor, a roof replacement can range anywhere from $6,000 to $12,000. The size of your home, the materials used and where you live will affect that price range. It’s no small sum, but in return for the investment, you’ll add thousands of dollars to the resale value of your home and ensure a safe and habitable dwelling for years to come. Don’t need a new roof right now? Do a quick check each month to see if maintenance is needed. If you notice problems like missing shingles or signs of water damage, be sure to call a roofing specialist to make the repairs as soon as possible – it could save you a bundle by prolonging the life of your roof and stopping costly leaks in their tracks.


Read more blog articles featured by Shield Insurance Agency

Read More
Emergency Water Storage

Emergency Water Storage

Foremost Creative Team | Emergency Water | Flood Insurance | Comparison Quoting Portal

The loss of safe drinking water is deadly. Most individuals will begin to experience side effects from dehydration after 36 hours. Starvation can be delayed by several days or weeks provided there is an ample, safe emergency water supply.

At the bare minimum, you should store one gallon, per person, per day, for seven days. A three-week supply is ideal.

After an earthquake, city water is vulnerable to contaminants through ruptured pipes and adulterated filtering systems. Do not take adequate water supplies for granted. If you store an ample amount for your family beforehand, you’ve already greatly increased your family’s chance of survival after an earthquake.

Proper Water Storage

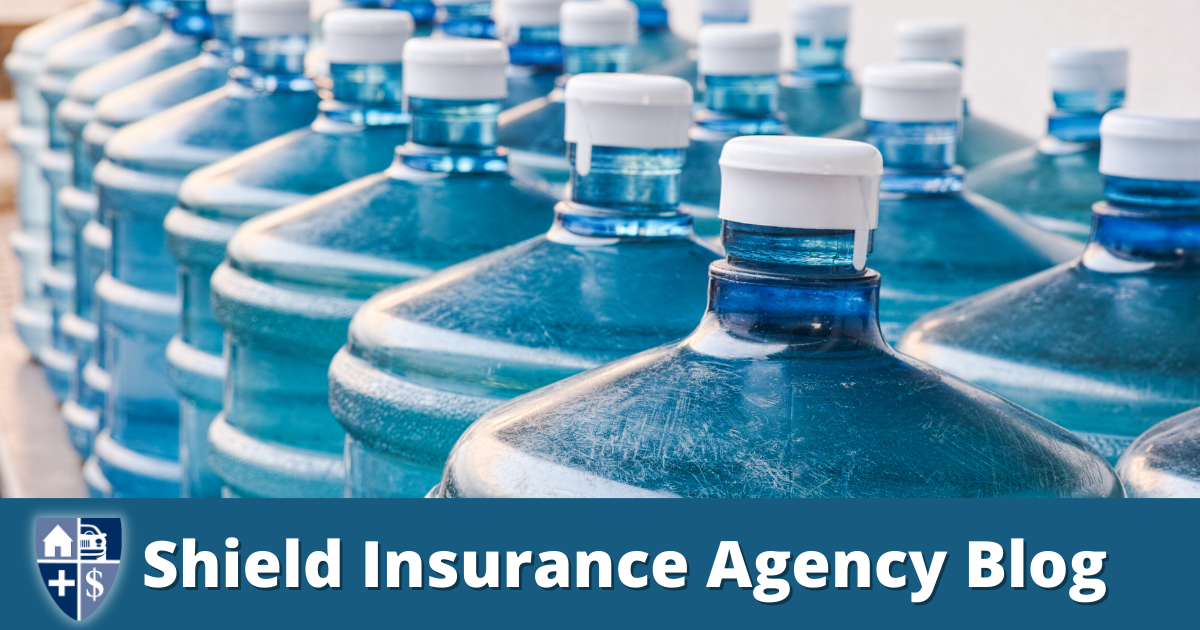
Most grocery stores sell water in one or two-gallon containers. These are not designed for long-term storage and will leak after six months. Your best option is to purchase one to five-gallon sealable containers of water from your local camping store. All stored water must be in a sanitized container and the water must be treated to avoid contamination by bacteria and algae. If you are storing your own water, treat the water as soon as you store it in the container with eight drops of pure, unscented liquid bleach per gallon of water. You must also rotate your water supply every six months, which includes store-bought treated water as well as the water you’ve treated yourself.

If your water supply is questionable, use these methods to treat it:

The best option: Add liquid chlorine bleach – eight drops per gallon of water. Double this amount if the water is cloudy.

A good option: Add 2% tincture of iodine to the water, or twelve drops per gallon of water. Double this amount if the water is cloudy.

An acceptable option: Boil the water vigorously for 10 minutes.

Dirty water should be strained through cheesecloth, a paper towel or a coffee filter before treating it to remove suspended matter. Wash and sanitize all food containers before use by washing them with warm, soapy water followed by a 10% bleach solution. Empty the bleach out after a five-minute soak, and let dry.

Emergency Water Sanitation

As part of your earthquake supply list, it’s also key to provide sanitation items. Having these materials staves off infection or illness that is caused by unsanitary conditions, and also makes a stay at a shelter or other unfamiliar or rustic territory more comfortable and worry-free. Store these items in your equipment kit as well:

  • Plastic bags – heavy-duty garbage can size and small, zip-lock types
  • Powdered chlorine lime – proper storage is required. This is an oxidizer and it’s corrosive.
  • Portable camp toilet with chemicals
  • Toilet paper
  • Handi-Wipes for water-free cleaning
  • Shampoo, toothpaste, deodorant, tampons, and sanitary napkins
  • Insect, fly, mosquito, and ant spray

For more information on Emergency Water Storage visit these sites:


More interesting reads by Shield Insurance Agency

Read More
A Guide to Getting Rid of a Mole

A Guide to Getting Rid of a Mole

Foremost Insurance | by Marrio Roberts Jr. | Mole | Home Insurance | Get a Quote!

A mole will not come above ground often. But when they do, they make their presence known. Unfortunately, the renovations they make aren’t always the most desirable.

Moles dig up dirt to create tunnels and to find insects. This can damage your grass and any plants you may have nearby.

If you start to see mounds of dirt scattered around your lawn, there’s a good chance you have a mole infestation. If you want to know how to get rid of moles in your yard, you may find some helpful tips in this article.

Get rid of the mole’s food source.

Moles love eating insects. So, eliminating them from your yard can stop moles from wanting to visit. After all, who likes visiting places with no food? Insecticides are a great way to keep your yard bug-free. However, they can kill your grass if misused. Be sure to pay close attention to the instructions.

Try home remedies.

Castor oil can be a great way to eliminate moles in your yard. Apparently, castor oil upsets their digestive tracts. However, Home Depot and other online sources note castor oil does not kill moles. To create a castor oil-based mole repellant, it’s suggested to mix three parts castor oil with one part dish soap. Then, add four tablespoons of the mix to a gallon of water. Pouring the mix into the entrance of the moles’ tunnels will encourage them to leave since they can’t stand the castor oil. If you don’t want to create a repellant mix yourself, you may find that buying one is a great alternative

Use plants and rocks to create barriers.

Plants like daffodils and marigolds produce a scent that’s said to deter moles. They look good too, making the investment worth it for some people. You can also dig trenches near the area where moles hang out, then fill them with rocks. The rocks will likely stop the moles in their tracks and send them back the way they came.

Irritate the mole.

Moles like areas that are peaceful and quiet. Any disturbances can cause them to flee. There are sonic spikes you can insert into the ground that use electronic pulses to create sounds moles hate to hear. You can also have pets treat the mole’s holes with urine if you have any pets. It may sound wild, but the scent can do a great job of making moles leave. It’s also one of the least invasive methods on this list, so it may be worth a try.

Trap and release the mole.

There are traps you can use to capture moles without killing them. This is called a trap and release. If you opt for one of these, carefully read the manufacturer’s instructions to ensure the safety of all parties involved. Each of these methods is a potential solution for handling mole activity. Please use your best judgment in determining the best way to remove moles from your lawn. Once you succeed in removing the moles, you may have some patching up to do. If so, you may be interested in our list of front-yard landscaping ideas.


More interesting articles featured by Shield Insurance Agency

Read More
Get Your Boat Ready for Spring

Get Your Boat Ready for Spring

Foremost | by Marrio Roberts Jr. | Boat | Boat Insurance | quoting portal

Springtime is here! The weather is beautiful, the water is inviting, and your boat is looking better now than when you first laid eyes on it. The only thing that would make your marine beauty even better is a gorgeous body of water underneath it. But not so fast…

Before you take your boat out on the water, complete the actions on this de-winterizing checklist created for you by Foremost® Insurance.*

  1. Check engine and fluid levels.
    To keep your boat running smoothly, remember to check engine and fluid levels. This includes engine oil, oil filters, power steering, coolant, and transmission fluid. If you didn’t change your engine oil, oil filter, and drive lubricants before winter, you can do this now. For everything else, check for any leaks and repair the source first. Once this is addressed, refill the fluids.
  2. Inspect your battery.
    If your vessel has been idle for a long period of time, it’s likely the battery is dead and will need to be recharged. Additionally, the water in the battery can freeze in the winter. When this happens, the water can expand and cause cracks in the battery creating irreversible damage. If there are no issues here, ensure that your battery is filled with the proper amount of water. Be certain to use distilled water and not tap water, which can diminish performance. Next, check for any corrosion and clean the battery with a mix of baking soda/distilled water. If you discover your battery is damaged beyond repair, replace it.
  3. Examine the boat’s exterior.
    When checking the exterior of your seagoing machine, look closely for any cracks and holes. Check all around the hull and underneath it. If you notice any damage, repair them immediately. Always remember: “boats don’t sink because of water around them, boats sink because of water that gets into them.”
  4. Check the belts.
    Lack of use during winter can cause belts to crack and break. This happens because of the stress and tension placed on the belts. If any belts are cracked, replace them. You will also need to replace your belt if it’s loose or if you notice black soot around the pulley.
  5. Examine fuel lines.
    The cold winter weather can cause damage to your watercraft’s fuel line. Damage to your fuel line can stop fuel from reaching the engine, and your boat won’t run. Be sure to check this when you pull your watercraft out in the spring. Pay close attention to your fuel hoses and replace them if you see any leaks. Replace any section of your fuel system that show any leaks, cracks, or structural damage.
  6. Inspect the sails (if applicable).
    Winter weather can cause considerable damage to your sails. Take note of the shape of your sails. If your sails don’t maintain proper form, you could have issues when boating in strong wind. Lookout for wear, chafing, and other structural damage. Inspect your bolt rope and replace it if it is fraying or weak. If your sails are damaged, replace them.

It is important that you perform each action in this checklist with as much attention to detail as possible. Properly de-winterizing your watercraft is crucial to your performance and safety out on the water.

*Please note: You should also follow the manufacturer’s recommendations for any other maintenance requirements not mentioned in this article.


More Shield Insurance Blogs for you

Read More
Front Yard Landscaping Ideas

Front Yard Landscaping Ideas

Foremost Insurance | by Marrio Roberts Jr. | Front Yard | Home Insurance | Self-Quoting Portal

Have you been thinking about updating your front yard landscaping? There are many reasons to invest in this space, including increasing your home value, improving safety, and reduction of utility costs. If you’ve been thinking about taking on this home project – what better time than now?

The Foremost® Insurance creative team created a list of things you can do to give your home some extra curb appeal:

Add path lighting to the front yard.

When placed correctly, lights can make your home stand out and become the most memorable one on your street. They also help guests navigate your property safely at night. You can consider various types of lighting for your garden or pathway such as spotlights, flood lights, step lights, garden lights and more.

Build a decorative fence.

If your home doesn’t already have a decorative fence, and if they aren’t banned in your neighborhood, this can be a great addition to your front yard. Not only does this feature add curb appeal, it also serves as a protective boundary.

Customize your walkway.

Many people overlook their walkway when thinking of front yard ideas. However, your walkway is just as much a part of your home as the kitchen. Different things you can do to customize your walkway are adding stepping stones, brick, pavers, lava rocks, or mulch on the sides with some decorative shrubs.

Improve the front yard lawn.

If your grass is brown or patchy in some places, it may be time for some TLC on your lawn. This can be as simple as planting some new seeds and watering regularly, or you may need to call a service to treat any underlying causes that may be to blame. A lawn is the first thing someone will notice when pulling up to your home, so it’s well worth it!

Install landscaping rocks.

You can also spruce up your front yard landscaping with rocks. The best part about adding rocks is that they are low maintenance – you just set them out in your space and forget about it. You can use rocks in a variety of ways, including placing them around plants or putting them along your walkway to your front door.

Install a front yard water feature.

This one is probably a little less common, but we think that’s what makes it a great idea! Adding a waterfall or a fountain will make your front yard stand out from the rest. One of the great things about this is that there are many budget-friendly options that are $200 or less, so be sure to shop around. Some outdoor cascading fountains cost less than $75, or if you’re able to spend more, there are rock waterfalls out there that are $200 or less.

Make a flower bed.

Flower beds are simple and effective. While flowers require a bit more maintenance than some of the other things on this list, they can be well worth the effort. You can plant eye-catching, low-maintenance flowers such as black-eyed susans, hydrangeas, daffodils or a rose bush.

Plant a garden.

Another recommendation that requires maintenance is an herb or vegetable garden. Planting your own garden allows you to save money on groceries, reduce plastic waste, and get some easy outdoor exercise. In addition to these health benefits, a garden can also add an element of beauty to your front yard.

Trim overgrown trees and shrubs.

Overgrown trees and shrubs can make your landscaping look unkept and disorganized. Trimming these can create a neater look and feel and improve the overall health of your trees and shrubs. By removing dead or diseased branches, you allow space for the sunlight to permeate the plant and leave room for new branches to grow.


More Shield Insurance Agency Blog Articles

Read More